Wednesday, February 28, 2024

New Technique!

I've been busy trying to work on and finish projects. Most of the project are "work" projects that have deadlines, while a few are projects that I've started and put aside because I needed to "work." I'm trying to make a concerted effort to sew more for me - just because I want to. It isn't easy, but I'm trying.  

This little wall hanging is one that I made, just because I wanted to make it. 


This is small, only measuring 17" x 20" and the construction was very simple and quick. I grabbed my scrap tub and pulled out fabrics from the Together We Sew Along project that I hosted for a Facebook Group to which I belong. The two background (light fabrics) and seven of the pink strips were from the Sincerely Yours fabric collection by Sherri & Chelsi. 

The remainder of the fabrics, including the backing were pulled from the scrap bin; and as I'm sure you can imagine, this small project did NOTHING to help reduce the amount of fabric in that tub.  LOL

I wanted to try to face this quilt instead of adding a binding. I've done that before and haven't been totally satisfied with my results or the process. I read a few tutorials and then combined what I read. I then did what made sense for me. 

I am very happy with the results! As you can see from the picture below, the facing fabric does not show on the front and the edge is smooth and straight. I will definitely do this again. I see some art type quilts in my future and already know that I want to face them instead of bind them.


Have you learned or tried any new techniques lately? 
 

Friday, January 26, 2024

Binding

It's been a while since I've had a quilt to bind and it felt so good! 


This is a rather small quilt (55" x 65") and it didn't take long to bind it, but it sure felt good to do that last night. I love it when a quilt gets to the binding stage. 

Maybe this is just what I needed to get focused on finishing projects. :-) 

Saturday, January 20, 2024

The Best Winter Colors

If you've been reading my blog for any length of time, you probably know that I enjoy watching birds from out of the many windows in my sewing area. I especially enjoy watching them when there is snow on the ground. Jack is diligent with making sure there is plenty of food for the birds when the temperatures drop and the snow falls, and this year has been no different. 

We haven't had much snow, so this morning was the first time that I sat with a cup of coffee and marveled at the birds and their beautiful colors. 

I wasn't thinking about taking pictures when I first sat down; but when I remembered that I hadn't shared any on the blog yet (or much of any content, for that matter), I grabbed my phone. It's difficult to see in this picture, but this is a blue jay and his color is beautiful. Do you notice how the smaller birds stay far away from the blue jay? Jack and I enjoy watching the dynamic of these birds and how they interact with each other. 


While this picture is even more challenging to see, this male cardinal is gorgeous. I love the bright red against the white snow. Beautiful!! The male cardinals don't seem to mind sharing the same space with other birds, but they do NOT like to share it with other male cardinals. And typically, the males and females take turns going to the feeders or to the seeds on the ground. 


As you can see in the pictures, there is a wooded ravine behind the birds. Because of that, we are blessed to see a lot of birds and other animals. Deer and fox are pretty common sights for us and we always enjoy seeing them as well. 

The trees bring out the woodpeckers and we often see a variety of them. I love the red head on this one so of course I took a lot of pictures.  :-)  


As you can see in the picture below, the woodpeckers generally are ok with sharing the area with other varieties of birds too. 


We didn't see any eagles or hawks today, but hopefully we'll get a chance to do so soon.

The birds provide color on cold and snowy winter day; and for that, I am grateful.

Monday, January 1, 2024

2024 Color Challenge

It's time for the 2024 
Monthly Color Challenge. 


Jen over at Patterns by Jen, always a great way to start a new year and 2024 is no different! 
Jen is the "hostess with the mostest" of the Monthly Color Challenge, and I'm thrilled to join her again for my 6th year. 

Each month, Jen will pick a color and a quilt block featuring that color. Not only does she choose a block, she provides instruction on how to make that block. The instructions are FREE during the featured month, but can be purchased for $1 after that. 

Jen always finds a fun way to introduce each month's color and she's done it again for 2024. Each month will be introduced via a fish, and I don't mean a simple, basic fish. Just take a look at this list! What fun!!    

January - Green Tiger Barb (Green)
February - Discus (Orange)
March - Cherry Barb (Red)
April - Electric Blue Hap (Blue)
May - Electric Yellow Lab (Yellow)
June - Harlequin Rasboras (Raspberry)
July - Duboisi Cichlid (Silver)
August - Purple Dottyback (Purple)
September - Kuhli Loach (Brown)
October - Wrought Iron Butterfly (Black)
November - Gourami (Teal)
December - Marigold Wag Swordtail (Gold) 

Jen's has lots more information on her blog, so why not jump over and read more about. 


Let's get started! 
January - The Green Tiger Barb


I have to be honest and say that I have never heard of the Green Tiger Barb. I did a quick internet search and found some lovely pictures; and I must say, this is quite a pretty fish. 


Thanks to its fluorescent green body, this fish will not be overlooked in any tank! While there are variations, the green body, with silver and gold blotches are topped off with really cool orange fins, making these fish a beautiful sight.

The Green Tiger Barb is know for being quite active and they like to have lots of plants in their aquariums. 
They also like their friends! Like most quilters I know, the Green Tiger Barbs don't particularly like being alone and should be put in schools of six or more.   


While Jen has made her blocks with two different greens, I chose to make mine with a single green and a white/silver dot background. The general rule is a fat quarter of light and a fat quarter of dark will be enough for each block.
The finished size of each month's block will be 12".

I will be keeping my background consistent all year. If you would like to do the same, Jen has all the information on how to do that, and even has information on how to cut the background for all 12 months most efficiently. WooHoo!

Use this link and scroll down the page a bit to find where to get the pdf for that. 

Here are the fabrics I've chosen. Don't you think the green texture kind of looks like fish scales? I do and am going to attempt to have each month's color print have a similar texture. 


This month's block is one of my all-time favorite blocks - Square in a Square.


Jen's instructions are very well written and one of the things I like is that block units are oversized and will be trimmed to the actual size needed. Doing this also helps keep all those beautiful points. No cut off tips here. I LOVE that!

This unit looks a bit untidy and rough... 


but once it's trimmed, it looks great! 


You will be making some flying geese units and those are oversized as well. 
Click HERE for my tutorial on how I like to trim those unit and get perfect flying geese every time. 


Jen provides pressing instructions for all of her blocks. While she likes to press seams to one side; lately, I've found that I am more successful with accurate points when I press my seams open. 


But...honestly, I don't think there really is a right or wrong way to press seams or do most of anything sewing-related. Generally, I say that as long as it's safe, whatever method is easiest for you and provides you with the results that make you happy, then that's the method you should follow. :-) 

I had a lot of fun making this block and I'm looking forward to making the remaining eleven. Who's going to join me?


Don't you think that my background in this picture looks like the bottom of a stream? I think so. It's actually our back patio, but I like it and plan to take pictures of each of my finished blocks there. We'll see if that happens, especially if there is snow when I finish the block.  LOL

Thursday, December 21, 2023

Trimming Flying Geese

I've been making a fair number of projects that include flying geese lately. Most of these projects use the four at a time method, which I really like. It is fast, easy, and I like to make them oversized so I can trim them and end up with them most accurate flying geese unit possible.  :-) 

There are a ton of tutorials on making four at a time flying geese, so I am not going to show how to do that. Instead, I am going to show you how I like to trim them. There are a couple of steps that are often overlooked, but they are VERY important to have the units turn out exactly as they should. 

For demo purposed, I am using a unit that will measure 2 1/2" x 4 1/2" unfinished (2" x 4" finished).

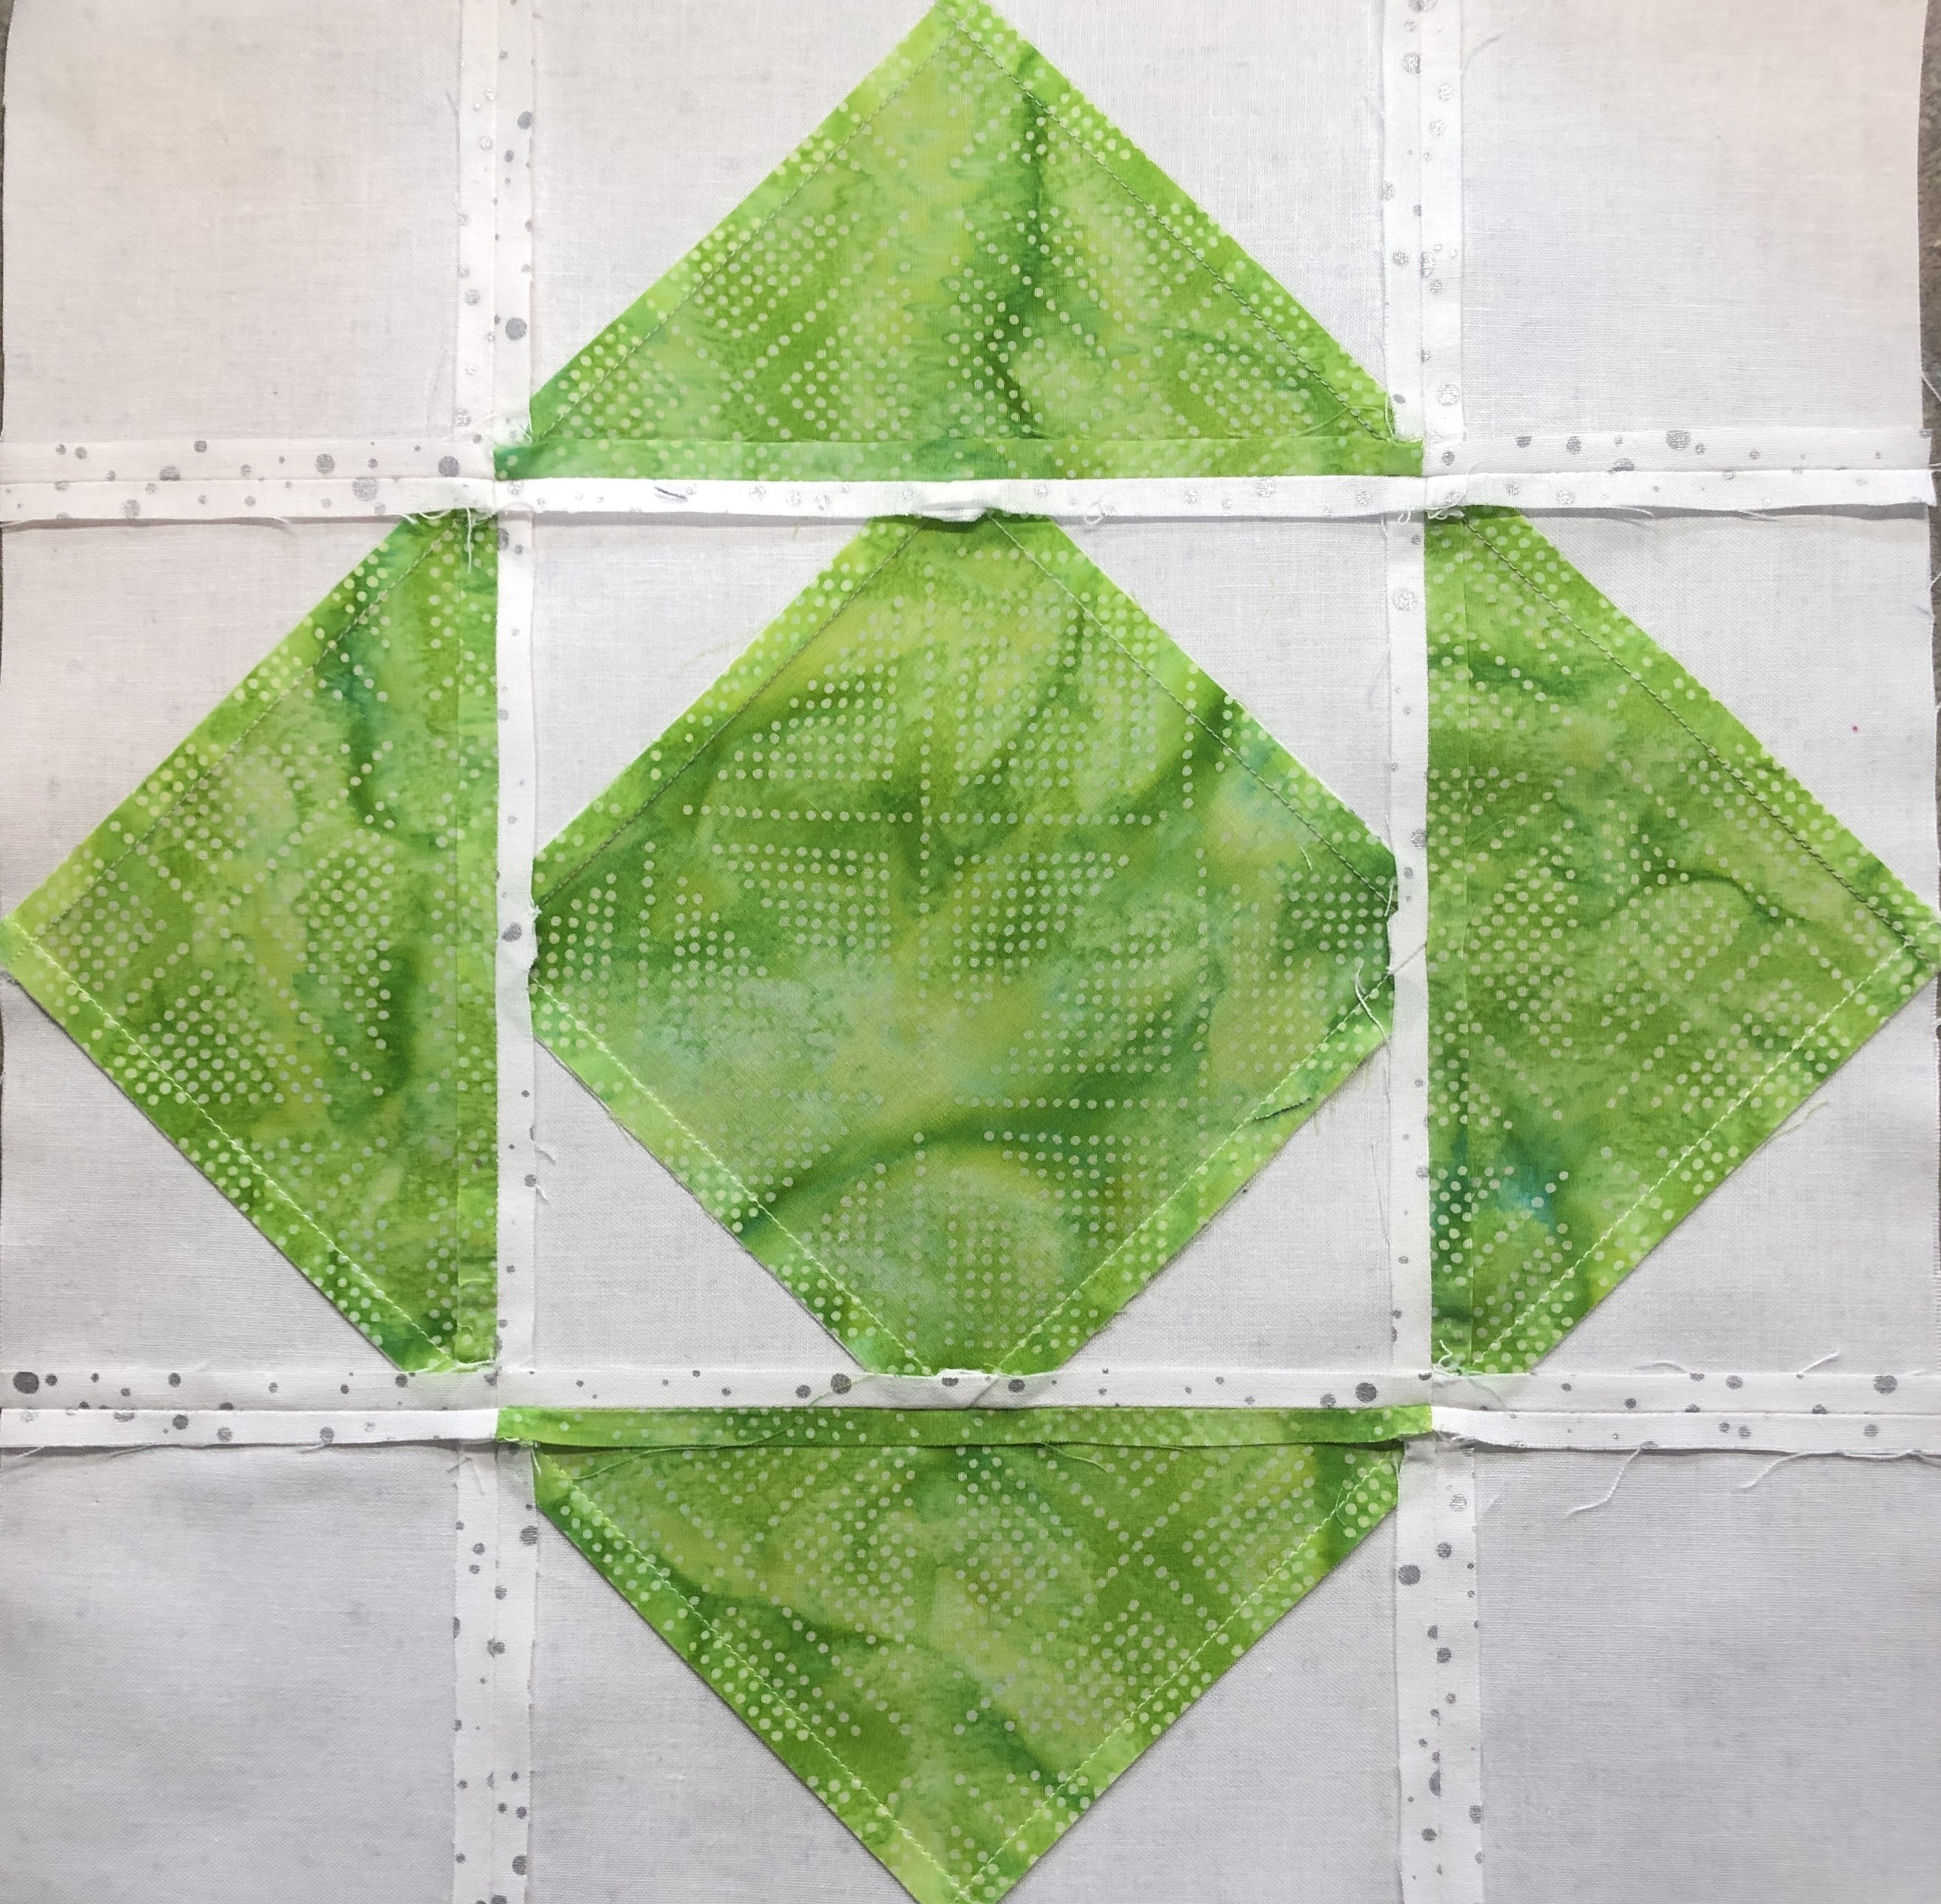
Here's my untrimmed flying geese block. The block should be pressed well so it lays flat. Notice the orientation of the V. This is important to be able to trim the first two sides accurately!


Even though it may look like it, I do not using the lines on the cutting mat to trim blocks. I like to use a square ruler for trimming, so I am using a 6 1/2" square ruler in this tutorial. (Yes, I know there are special rulers for trimming flying geese. I do not own any of those, and neither do many of my students. That is why I'm doing this tutorial.  😉 

Disclaimer: I am right handed and the pictures below are taken accordingly. 

The first thing I do is orient the 45 degree angle along the right side of the V. Don't worry about lining up anything else just yet. I will show you the most important places to look and align in the next series of pictures.  


The blue arrows in the picture below are what I like to call "alignment points." I am checking for an accurate 45 degree angle of the V, the correct width, the correct height, and the correct center point of the block. Remember that the actual alignment points will change depending on the size of flying geese you are making, but the process will be the same. 

In this example, the flying geese that will measure 2 1/2" x 4 1/2" unfinished, 
so the pictures shows that I am checking for an accurate 45 degree angle of the V, 
the correct width (4 1/2"), the correct height (2 1/2"), 
and the correct center point of the block (2 1/4").  

I am making a flying geese block that measures 2 1/2" x 4 1/2". With that in mind, the following steps should be taken and points should be noted and used to align the ruler before trimming. (See the arrows in the next pictures to help you with alignment.)

1) Align the 45 degree angle of the ruler along the right side of the V. (see purple arrows)

2) The width of the block is 4 1/2" so the center of the block (the tip/point of the V) should be 2 1/4".  (see the white arrow)

3) Once you have aligned the center point, look to the left and make sure the block extends at least to, but preferably a little past, the 4 1/2" line. Check at the top and bottom of the left side of the block. (see the blue arrows) 

4) Check along the bottom to make sure the block extends at least to, but preferable a little past, the 2 1/2" line. (see the orange arrows) 

5) Another thing to look for at this point is to make sure that the fabric extends at least 1/4" from the bottom of the V. This is for the 1/4" seam allowance which will help you not lose the point when you sew the block to another unit or block. (see the center orange arrow) 

**If everything is aligned properly, the right corner of the ruler should intersect with the top, right side of the V. (see top purple arrow) and the 4 1/2" ruler mark should intersect with the top, left side of the V. (see the top blue arrow) 


6) Once everything is correct, trim the right side and top of the flying geese block. 


7) Rotate the block so the V is upside down and the trimmed sides are on the left and bottom.


8) Verify that you have the accurate alignment points again. 

     A) The left side of the block should align with the 4 1/2" mark on the ruler. (see blue arrows)

     B) The bottom should align with the 2 1/2" mark on the ruler. (see orange arrows)

     C) The tip of the V should align with the 2 1/4" mark on the ruler (see pink arrow)

     D) Fabric should extend at least 1/4" past the tip of the V. (see pink arrow)

9) Trim the right side and top.


Here is a perfectly sized 2 1/2" x 4 1/2" flying geese block, ready to be used. 

Another Project

As I said in my last post, we've been quite busy around here but I needed to spend some time with my sewing machine, just to keep my sanity. Sewing really does help me relax, stay calm, and regroup when things are getting a bit out of control. 

I decided that I needed to sew something that is pretty mindless, so I took a look at my many UFOs. I very quickly decided that there are a number of projects that need to stay right where they are. Now is not the time to work on them. For a couple of those project, there may never be a time to work on them, but that's a whole other issue.  

I finally decided that since I'm teaching another Plays Well with Others class in January, and I had a bunch of those blocks already made, that I'd make a new sample. Easy Peasy!


Unlike the first version of this quilt, there is no rhyme or reason to the placement of the strips in this quilt. I simply picked up a strip, decided if it had enough contrast with the one next to it, and then sewed, pressed, and pulled the next strip. No heavy duty thinking needed, and that's exactly what I wanted.


I used the same fabric for the pieces that create the star, so that was easy!


This was fabric that was left over from another project and was perfect to use when I've taught this class previously. No matter what class I teach, I like to make "step-out units" to demonstrate the process of each step. For this quilt, using a light colored fabric made it easy for students to see the markings they would be making. 

By the time I completed all the partial blocks (step-out units) I had enough to put the blocks on the design wall. 


For this quilt, putting the blocks together was pretty simple. I just didn't want two of the same fabrics next to each other and I wanted some contrast between them. Basically, I just put up blocks and then moved them around as needed. 

It is a little deceiving how these blocks are made. You don't start out by making star blocks. Instead, each star block is constructed from four individual "kite" blocks. Sorry! I didn't take a picture of an individual "kite" block when I was making this quilt. Here's a very bad picture from another version that I'm making. 


Once I decided on the final layout, I sewed four "kite" blocks together into stars and then sewed the star blocks together. Again...easy peasy. And guess what...the star points purposely don't have to be matched up perfectly. Yay! 

In an attempt to keep the star points in tact, I purposely "floated" them. That means that the intersection looks like a hot mess up close, but since there are so many fabrics converging here (8 different fabrics), you really don't notice it when the quilt is done. 


It felt good to put this quilt together. I like it and have a couple other versions of it in the works. :-) 

Monday, December 18, 2023

A Little Bit of Sewing

We've been quite busy around here and unfortunately sewing has had to take a back seat. But... I did do a little bit - just to keep my sanity.  :-)  I made a sample for an upcoming class on how to use the Creative Grids Scallop Template. 


This template was designed by Krista Moser and it makes creating scallop-edged quilt pretty darn easy. The first time I used this template was when I made the 2021 Shop Hop quilt for Chestnut Ridge. While this isn't a great picture, I think you can see how that scallop border adds a great finish to the quilt.  


For the upcoming class, I decided to use Krista's Simple Scallop Baby Quilt pattern that is made using a panel. Here is Krista's quilt.


When I first saw this quilt, I went on the prowl to find the panel that Krista used, but I had no luck. Instead, I used a very pretty Flower Market panel from Wilmington Prints. I've used the panel before, but that was prior to the creation of the scallop template. Of course I can't find a picture of the quilt so I guess I'll just have to show the baby quilt. :-) 


I am very happy with this quilt. I chose to use the same fabric for the small border and binding (the pattern is written for that) and I like how it looks. Yes, this is requires bias binding, but that does not bother me. As a matter of fact, in the class; not only will be be learning how to make the scallops, we'll be learning the ins and outs of bias binding. 

I've got to run, but I'll share a few more projects within the next week or so.